|
HOME - ABOUT US - OUR PRINCIPAL - CONTACT US - TECH. RATES - EQUIP. RATES - FEE SCHEDULE - LINKS |
||||||
|
| ||||||
| How to set-up lighting for your home web camera | ||||||
|
Why you need a UNIQUE ENGINEERED SOLUTION. Are you interested in a Live or Recorded Webcast? CLICK HERE. What you need to know about HOME THEATER. UES CLASSES and Certifications. Glossary of AUDIO TERMS. Glossary of STAGE TERMS. Do you have a web camera at home? Here's some LIGHTING TIPS. Read about a few PRODUCTS we are developing. (This page still unpublished.) LINKS to a few Manufacturer of Multimedia Equipment websites. A few trade publications ONLINE.
|
By Darryl Glover (09-Nov-2003) | |||||
|
|
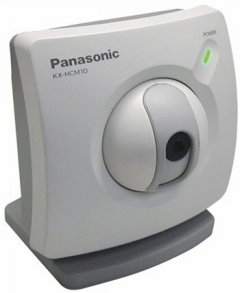
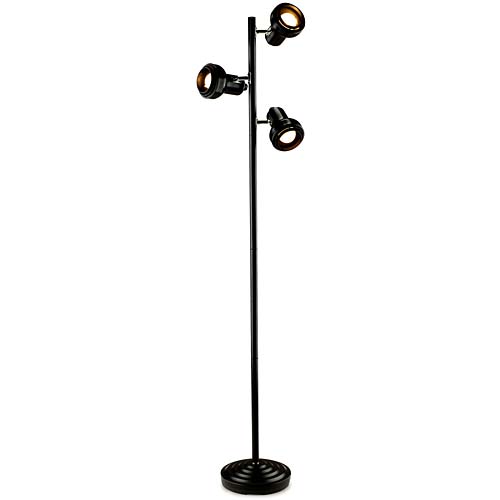
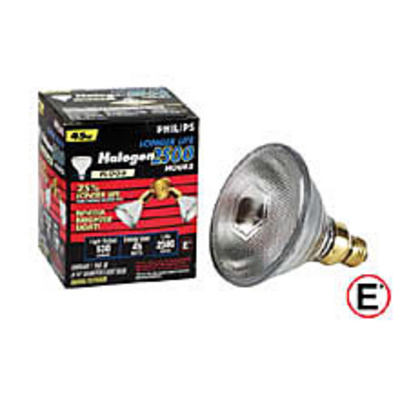
This page was prepared to assist you in setting up the lighting for your home web camera. If you've been using your web camera and been told that you are out of focus or your viewing audience in general can't see you well, these simple tips should give you a 1000% improvement. If you currently have no lights in the room at all, you can do this for a total of about $70.00. $50 for the floor lamps and $20 for bulbs. |
 | ||||
|
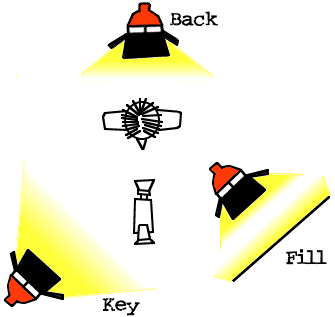
Plus about an-hour of your time which includes a 30-minute trip to Walmart (a while longer if the lamps have to be assembled). I attempted to keep this article non-technical and hope you find it moderately useful. Getting Started: You can expect good result with even the cheapest of web cameras. Most web cameras can be set on AUTOMATIC. I recommend you use this setting. You will need three light sources for the best results. A lamp with a reflector is recommended. You may have one clamped on your headboard for reading at night or the three-headed kind that you have probably seen if not already own. Set up your first light and put it in front of the you (slightly to one side) and high as possible at a 45o angle looking down. See the diagram below. This is the KEY or MAIN light. You are now lit. Hurrah!
But you still seem to have heavy shadows on the opposite side of your face. Set another light making this one more diffuse by reflecting it off a wall, a reflector or by putting a scrim (basically a grille) in front of it. This is the FILL light and helps soften the shadows See the diagram above and note the light is not aimed directly at you. You can also add a light above and behind the subject to add a slight corona (ie. white line) around you that helps to separate you from the background. This is called the BACK light. Usually an existing overhead or table lamp will be adequate unless it is fluorescent.
Common Mistakes are:
You're Almost There: If you are doing close-up shots with your webcam, you may find you will need to have a different set-up. This can usually be accomplished by moving the MAIN lamp closer or further as needed. Remember to eliminate shadows and dark spots. Too much light can cause you to be "washed out" and be just as bad. Depending on the size of the room, you may find you don't really need as much light as you thought. Generally the bigger the room, the more lighting is needed and smaller rooms require less lighting. If you have acquired the lamps mentioned earlier, you have a capacity of just over 1/2 a kilowatt of lighting. Even by professional standards this is more than adequate for most home computer set-ups.
Want Pro Stuff? Now, just in case you would rather have professional stuff without spending a fortune, I recommend an outfit by Smith Victor at Adorama for about $200.00 plus shipping. This is the best value on the market for home use. I must warn you, however, these professional lights do get hot. If you find you use this stuff a lot and want cool lights (high frequency color corrected fluorescent), be ready to spend a minimum of $300.00 per light, and remember you need 3. It is possible to mix the types of lights and at some point you may want to upgrade the fixture which is nearest you (KEY/MAIN light) causing discomfort from the heat, with one of these high dollar cool lights. Good Luck! One final thought is, if you're working during daylight hours and can use sunlight from a window, by all means use it. Sunlight is the most user friendly light source available. I would appreciate EMAIL if you found this information useful. Thank you and good luck.
| ||||||

